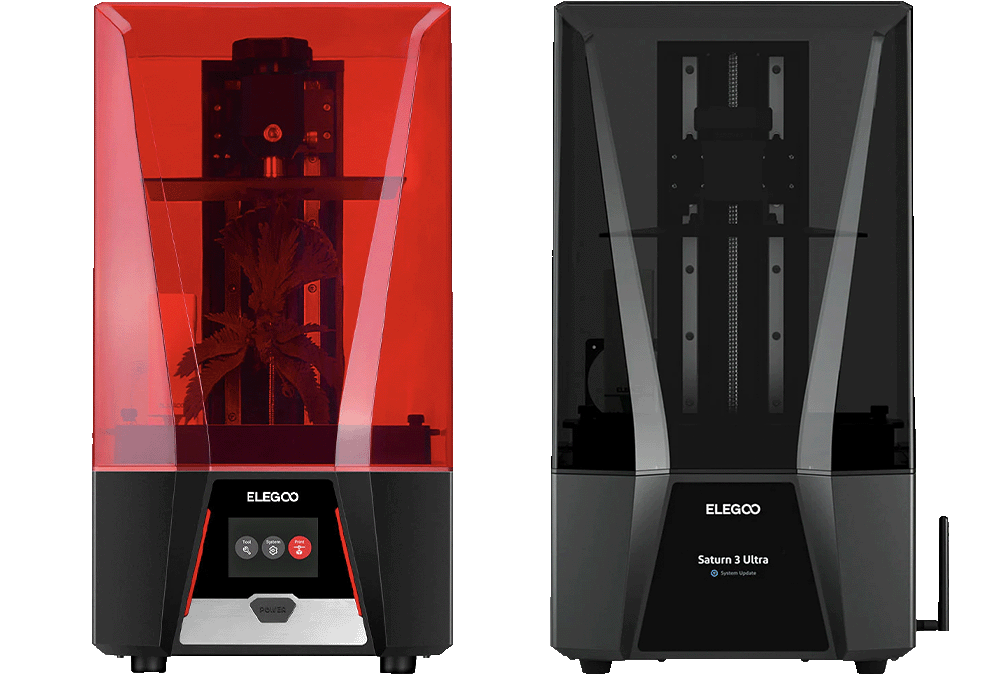
Ty’s Preferred Printer

Ty’s Preferred Printer

Ty’s Preferred Printer

Article on Resin Printer Preferences

My Preferred 3D Resin Printers: A Journey Through the Saturn Series

Over the years, I’ve had the opportunity to work with a respectable number of 3D resin printers. From the Epax e10 (upgraded to 4K and then 8K), to various Anycubic models like the Mono X and the original Photon, to multiple Frozen Sonic Minis and every iteration of the Elegoo Saturn (Saturn I, II, III Ultra, and IV Ultra). With this experience across different printers, I’ve developed some clear preferences, and today I want to share those with you.
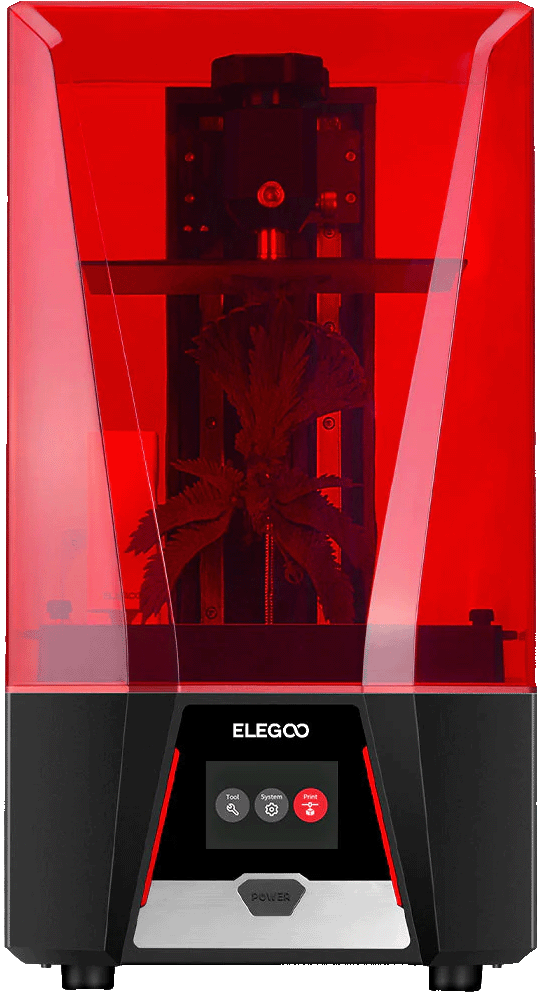
Elegoo Saturn 2 Printer Image

The Saturn II: My Top Choice

Hands down, my favorite printer so far has been the Elegoo Saturn II. It offers fantastic detail with an XY resolution of 28 microns on its 10.1-inch 8K screen. While human eyes can’t detect details beyond 28 microns, it’s been perfect for my printing needs. The ball joint leveling system isn’t my favorite—it’s a bit cumbersome—but it works. More importantly, the Saturn II runs G-Code, allowing me to use my Auto Mixing Profile, which keeps my resin perfectly mixed between prints.

One standout feature of the Saturn II is its tempered glass screen protector, which has saved my screens numerous times from resin leaks and scrapes. Despite heavy usage, I’ve never damaged a screen while cleaning off leaked resin. At one point, I had five Saturn IIs in my printing farm. Unfortunately, the Saturn II is nearing the end of its production life, and it’s becoming harder to find replacement parts, especially screens.
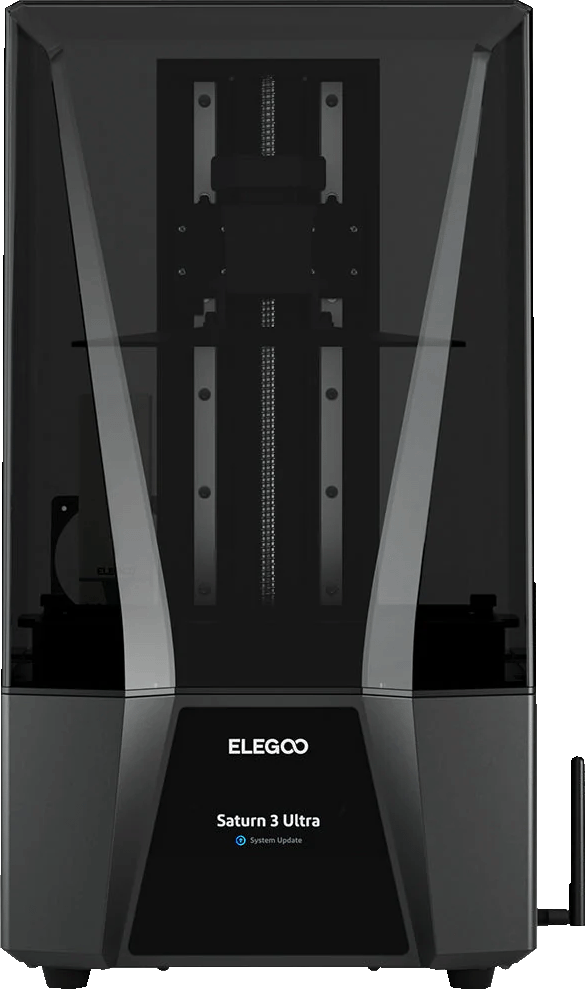
Elegoo Saturn 3 Ultra Printer Image

The Saturn III Ultra: My Next Go-To Printer

As the Saturn II becomes less available, I’ve turned to the Saturn III Ultra and Saturn IV Ultra for replacements. Of the two, I’m much more of a fan of the Saturn III Ultra. While it doesn’t run G-Code (a major downside for my Auto Mixing Profile), the Saturn III offers nearly identical performance to the Saturn II in terms of high detail and reliability.

The Saturn III boasts a 12K screen, providing even more resolution than the Saturn II. However, the human eye can barely discern the difference, so the increase in resolution isn’t a game-changer for most users. The Saturn III’s traditional leveling system is solid, and overall, it feels like a well-rounded, reliable machine. Its lighting system is decent, and the printer itself has proven to be an excellent workhorse for my needs.

Saturn IV: Not a Fan (Yet)

Now, let’s talk about the Saturn IV Ultra. While I appreciate Elegoo’s efforts to introduce new technology, I believe the auto-leveling feature in the Saturn IV is a misstep. This system takes away user control over the first few layers of the print, leading to layer compression and delamination issues in the supports. The lack of control over initial layer heights is, in my opinion, one of the worst developments in the resin printing space. Just as the community was mastering proper leveling techniques, this new feature reintroduced unpredictability and inconsistencies.

Troubleshooting Replacement Parts

As I mentioned, it’s becoming challenging to find replacement screens for the Saturn II. Chitu Systems offers replacement screens, but I’ve personally had trouble getting them to work with my Saturn II. My current attempt is still in parts, and while I’m troubleshooting, I may be out of luck with that particular screen replacement.

Final Thoughts and Recommendations

For those looking to buy a new 3D resin printer or upgrade from their current setup, I strongly recommend the Saturn III Ultra. It performs reliably, offers fantastic detail, and maintains the traditional leveling system that just works. While it doesn’t support G-Code, its other strengths make it my go-to printer for now.

I truly hope that in the future, Elegoo will allow G-Code functionality in the Saturn III, or that some clever individual will figure out how to unlock this feature. That would seal the deal for me, and I’d likely switch entirely to the Saturn III Ultra moving forward.

If you’d like to check out the Saturn III Ultra or other Elegoo printers, you can use the link below to support TableFlip Foundry with your purchase.

Thanks for reading, and happy printing!
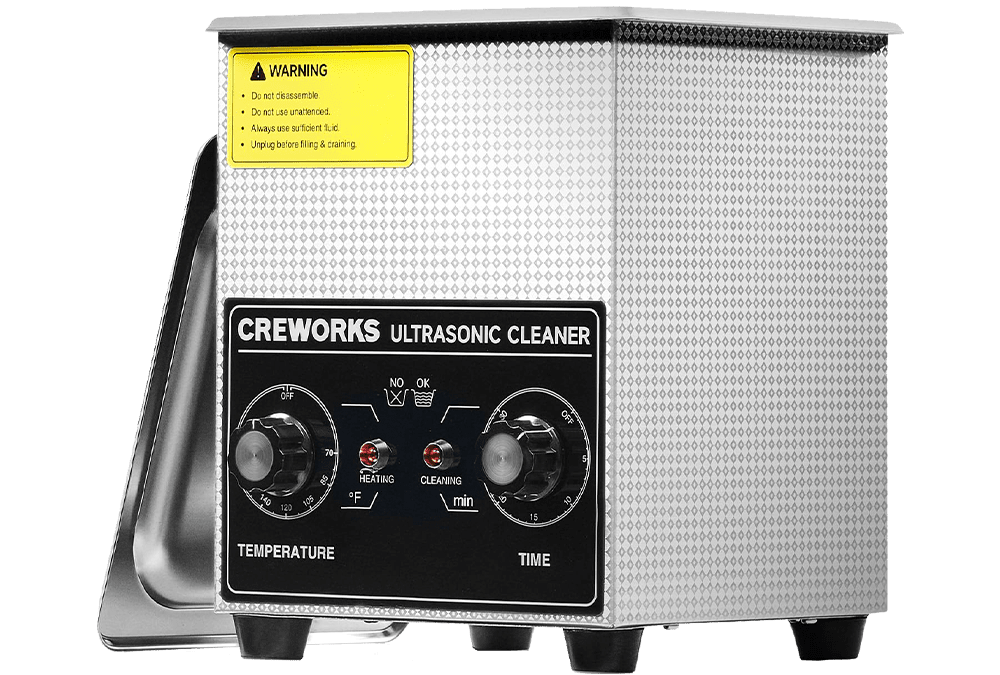
Sonic Cleaner

Sonic Cleaner

Sonic Cleaner

Effective Cleaning for Resin Prints with Sonic Cleaners

Cleaning resin prints from your 3D printer has always been a challenging and complex topic. Many users have varying opinions and methods on what works best and what is safe. It’s essential to research and make an informed decision on the cleaning solution that suits your needs. Personally, I have been using sonic cleaners with isopropyl alcohol for years, and I find them to be incredibly effective.

Using Isopropyl Alcohol and Sonic Cleaners

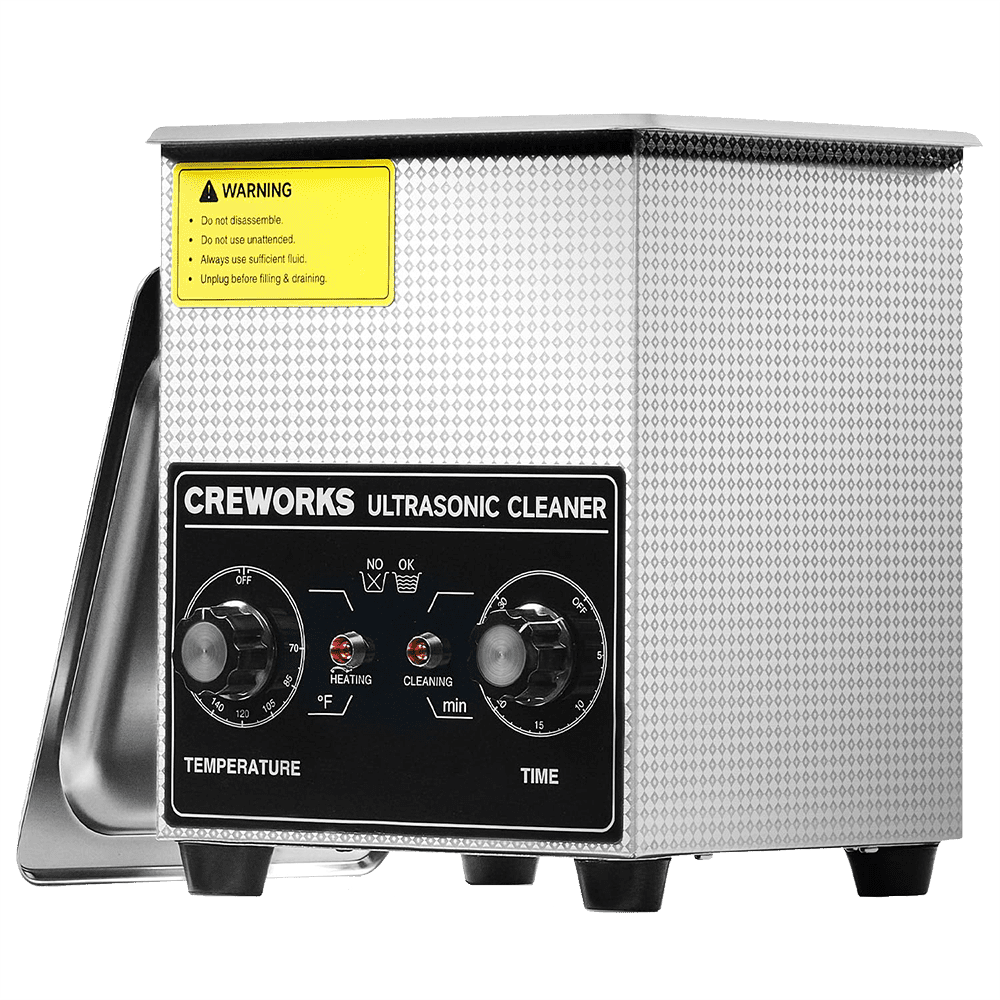
While some may express concerns about using isopropyl alcohol in sonic cleaners, my experience has been positive. I have used three 2-liter sonic cleaners daily for many years without any safety issues, including spontaneous combustion. However, it is crucial to maintain good ventilation and use the lid on your sonic cleaner to mitigate air quality concerns. A popular method to enhance safety involves filling the sonic cleaner with water and placing the isopropyl alcohol and resin prints inside a Ziploc bag. This method isolates the isopropyl from the electronic components of the cleaner, offering a safer approach.

Sonic Cleaner Photo

Benefits of Sonic Cleaners

Sonic cleaners provide a thorough clean, especially for hollow prints. Unlike other cleaners that only swirl water, sonic cleaners can effectively clean both the inside and outside of prints. This comprehensive cleaning is vital since resin is toxic and ensuring prints are thoroughly cleaned is crucial. Recommended Cleaning Process

For the best results, I recommend a multi-stage cleaning process. While my setup includes three sonic cleaners, you can achieve similar results with two or even one cleaner by performing multiple baths.

Dirty Bath: The first bath removes the bulk of the resin.

Medium Bath: The second bath helps break up any remaining residue.

Clean Bath: The final bath ensures the prints are perfectly clean with minimal cloudiness in the isopropyl.

If you’re using the Ziploc bag method, you can still achieve a thorough clean with one sonic cleaner by performing multiple baths in the same cleaner. Choosing the Right Sonic Cleaner

Isopropyl alcohol degrades plastic quickly, so it’s important to choose a sonic cleaner made of stainless steel with minimal plastic parts. Avoid cleaners with film buttons, as the isopropyl can damage these components over time. Instead, opt for cleaners with bulky knobs and, if possible, a timer with an audible bell. I’ve linked below the sonic cleaners I currently use. I own three 10-liter units, but a single 2-liter unit is sufficient for most hobbyists. Using the Ziploc bag method, you can still achieve a three-bath process for perfectly clean models every time.

Silicone Mat

Silicone Mat

Silicone Mat

Keeping Your Workspace Clean with a Silicone Mat

3D resin printing can be a messy process. With resin getting onto various tools and surfaces, maintaining a clean workspace can become a tedious task. However, there is a simple yet effective tool that can help manage this mess and keep your workspace clean: the silicone mat.

Why Use a Silicone Mat?

In a 3D resin printing setup, it’s common to use various tools like spatulas, tweezers, and print removal tools. Resin can get on these tools, and constantly cleaning them after each use can be time-consuming and frustrating. A silicone mat offers a practical solution to this problem. Here are the key benefits: Non-Stick Surface: Resin will not stick to the silicone mat, making it easy to manage and clean. Easy Cleanup: You can clean the mat with isopropyl alcohol, or use a UV light to cure the resin on the mat. Once cured, the resin can be peeled off in hardened bits and disposed of properly. Dedicated Workstation: Using a silicone mat as a designated dirty workstation helps keep the rest of your workspace sterile and free from resin contamination.

Silicone Mat Photo

How to Use a Silicone Mat

Implementing a silicone mat into your workflow is straightforward:

  • Place the Mat: Position the silicone mat in your workspace where you typically handle resin-covered tools and prints.
  • Use as a Workstation: Use the mat as a surface to set down resin-covered tools, prints, and other items. This confines the mess to one area, making cleanup easier.
  • Clean or Cure and Peel: After your printing session, you can either wipe the mat clean with isopropyl alcohol or use a UV light to cure the resin. Once cured, the resin can be easily peeled off and disposed of, leaving the mat clean and ready for the next use.

Recommended Product

We’ve identified a high-quality silicone mat available on Amazon that fits these criteria. This mat is affordable, durable, and an excellent addition to your 3D resin printing toolkit. It offers a significant improvement in maintaining a clean workspace.
Reusable Filter

Reusable Filter

Reusable Filter

Efficient Resin Filtering with Reusable Filters

In the world of 3D resin printing, managing resin waste and ensuring a clean printing environment are critical for maintaining the quality and longevity of both prints and equipment. One tool that has proven to be incredibly useful for these purposes is the reusable filter.

Why Use a Reusable Filter?

When you order resin, it often comes with paper filters meant for funneling the resin back into the bottle. While these paper filters can be effective, they come with a few drawbacks. Firstly, they create waste that needs to be disposed of properly. Additionally, using paper filters can be quite slow and cumbersome as they don’t filter the resin fast enough, requiring you to pour slowly and wait for the resin to pass through. A reusable filter offers a more efficient and eco-friendly solution.

Here are some key benefits:

  • Reduces Waste: Unlike disposable paper filters, a reusable filter can be cleaned and used multiple times, significantly reducing the amount of waste generated.
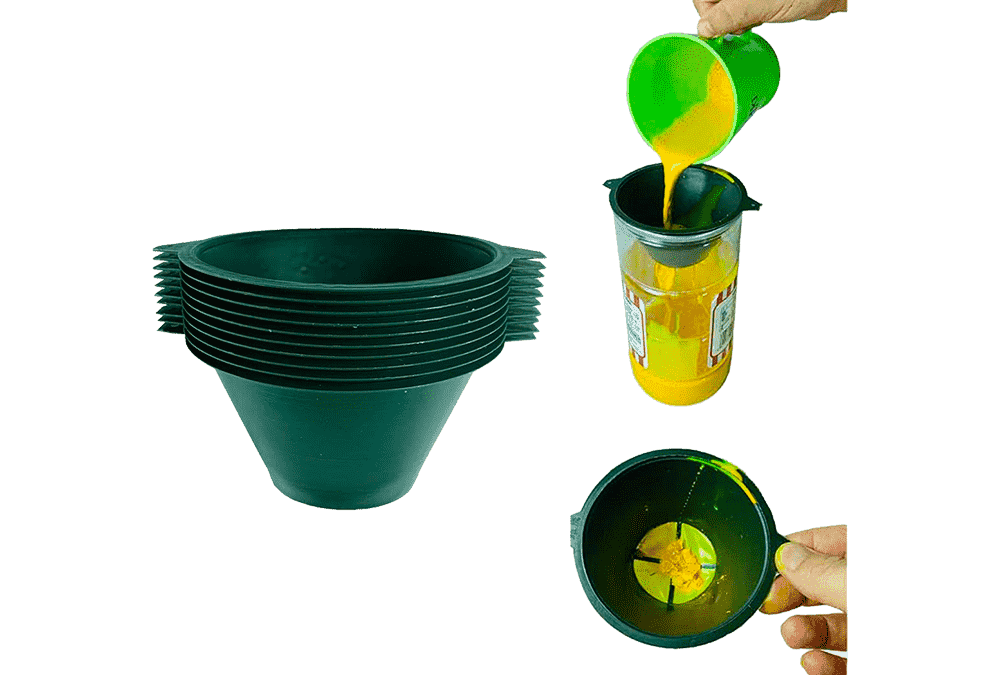
  • Increases Efficiency: Reusable filters are rigid and provide ample filtering space, allowing resin to pass through more quickly compared to paper filters. This means you can pour resin back into the bottle without the tedious waiting time.
  • Ease of Use: Reusable filters are easier to handle as they fit perfectly into the bottles without flopping around. This stability helps to minimize spillage and makes the process of filtering resin more straightforward.
Reusable Filters Photo

How to Use a Reusable Filter

To maximize the benefits of a reusable filter, follow these simple steps:

  • Prepare the Bottle: Set aside an empty resin bottle and cut the top off. This modified bottle will serve as a stable base for the reusable filter. You can reuse this bottle over and over again, further reducing waste.
  • Insert the Filter: Place the reusable filter into the prepared bottle. The rigidity of the filter ensures it stays in place, making the pouring process easier.
  • Pour the Resin: Pour the resin into the filter. Thanks to the large filtering area, the resin will pass through quickly and efficiently, allowing you to refill your resin bottles without much waiting.
  • Reuse and Clean: After use, clean the filter thoroughly so it can be reused for future resin filtering tasks. This not only saves money but also reduces environmental impact.

Recommended Product

We’ve identified a high-quality reusable filter that fits these criteria. Available on Amazon, this filter comes in a pack, providing multiple filters for less than $10. These filters are designed to provide a hassle-free resin filtering experience with their robust and efficient design. They are an excellent addition to your 3D resin printing toolkit, offering convenience and reliability. By incorporating reusable filters and a modified bottle into your 3D resin printing workflow, you can enjoy a cleaner, more efficient process with less waste and fewer headaches. This small investment can lead to significant improvements in your overall printing experience.
Silicone Spatula

Silicone Spatula

Silicone Spatula

Essential Tool for 3D Resin Printing: The Silicone Spatula

When it comes to 3D resin printing, having the right tools can make all the difference in maintaining the quality and longevity of your prints and equipment. One of the most underrated yet incredibly useful tools is the silicone spatula, designed specifically for mixing resin and cleaning your vat.

Why You Need a Silicone Spatula

Many beginners in the 3D resin printing hobby mistakenly believe they need to empty and thoroughly clean their vat every time they change their resin. This often involves wiping the FEP (Fluorinated Ethylene Propylene) film with paper towels or microfiber cloths, which can be tedious and risky. Using the wrong materials can cause micro-scratches on the FEP, which negatively impacts print quality. A silicone spatula eliminates the need for this cumbersome process. It provides a simple, effective, and safe method for maintaining your vat without causing damage.
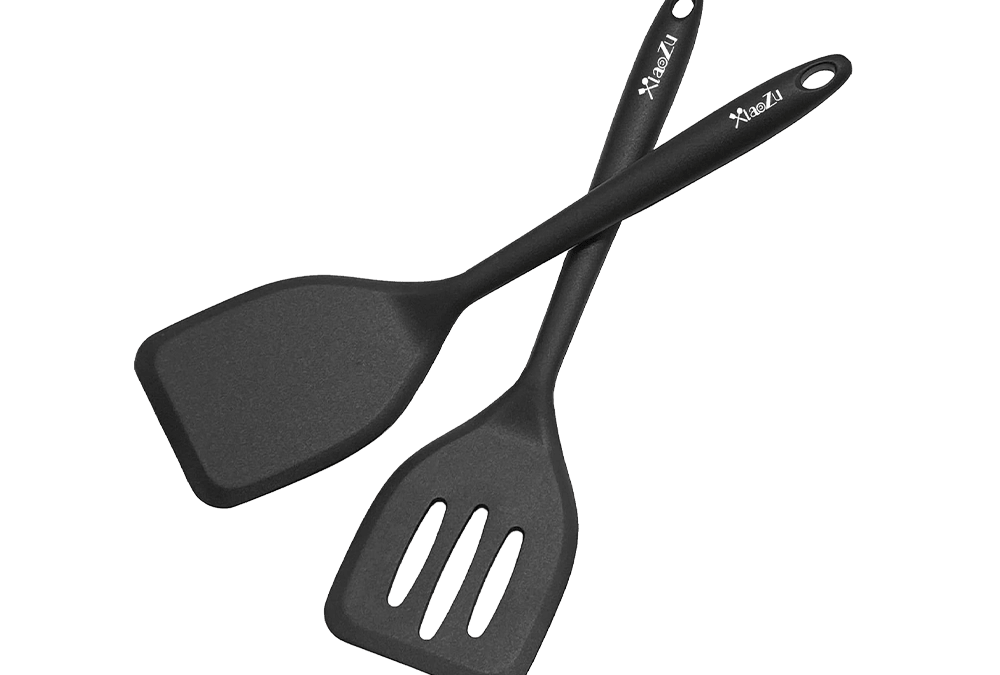
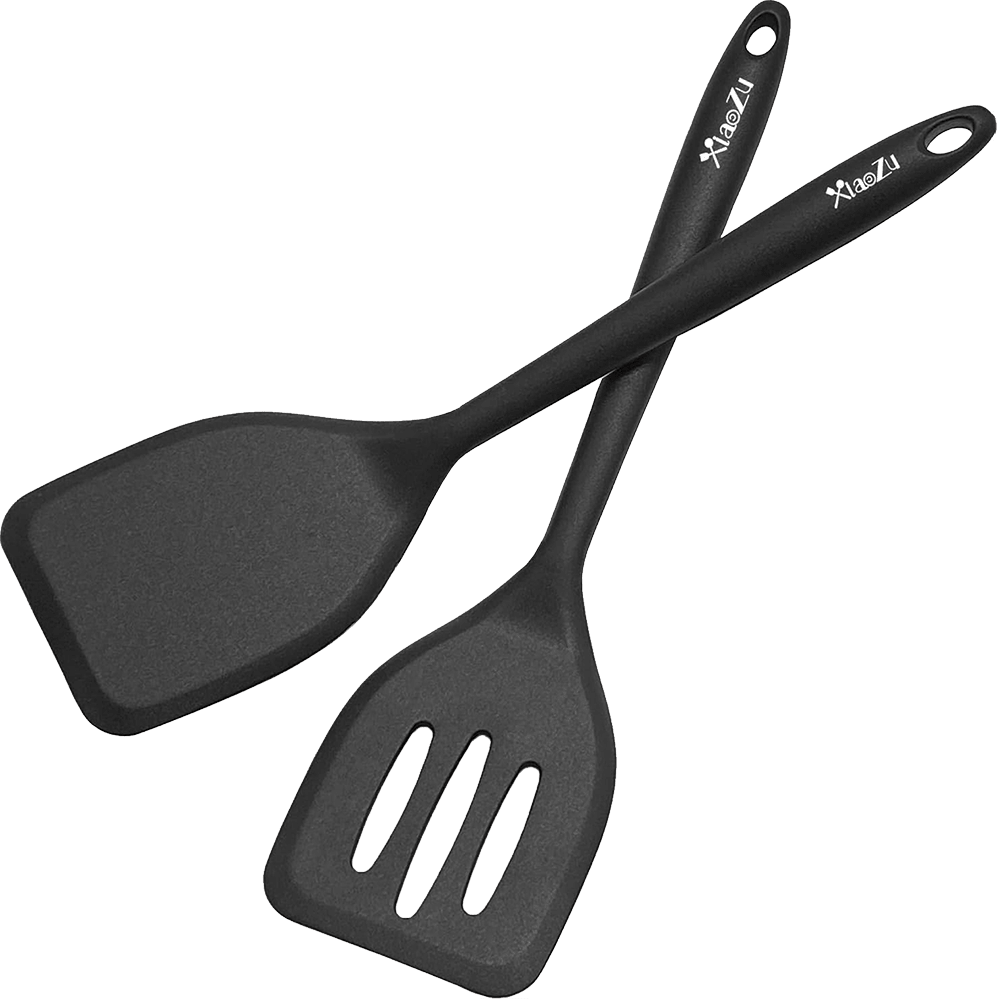
Silicone Spatula Photo

Features to Look For

Not all silicone spatulas are created equal.
For 3D resin printing, you should look for the following features:

  • Smooth, Flexible Silicone: The spatula should be made from smooth and flexible silicone that won’t scratch or damage the FEP film.
  • Flat Bottom: A spatula with a flat bottom ensures maximum surface area contact, allowing you to push resin across the vat evenly and smoothly.
  • Holes in the Spatula: Holes in the spatula create turbulence when mixing resin, making the process more efficient. The resin flows through the holes, speeding up the mixing process significantly.

How to Use the Silicone Spatula

Using a silicone spatula in your 3D resin printing workflow is straightforward:

  • Mixing Resin: Before each print, use the spatula to mix the resin in the vat. The holes in the spatula help create turbulence, ensuring the resin is thoroughly mixed quickly.
  • Cleaning the Vat: After a print, use the spatula to feel the bottom of the FEP. This helps you detect any particles or remnants of prints that might be stuck, ensuring the vat is clean for the next print.
  • Maintaining the FEP: Regular use of the silicone spatula can help maintain the FEP in good condition, reducing the need for frequent replacements.

Recommended Product

We’ve identified an excellent, inexpensive silicone spatula that fits these criteria. Available on Amazon and other retailers like Walmart, this spatula is almost identical to the one we use in our lab. It’s a handy tool that you will find yourself using constantly. For less than $10, it’s a small investment that can significantly enhance your 3D resin printing experience.